
Danish Pastry
180ml water
1¼ teaspoons instant yeast
1 egg, lightly beaten
55g caster sugar
1 teaspoon salt *
260g bread flour
60g plain flour
1 tablespoon milk powder
225g cold unsalted butter *
1 egg white, lightly beaten for eggwash
* If using salted butter, omit the 1 teaspoon salt. (This was what I did because I forgot to buy unsalted butter.)
 LET'S DO IT:
1. Cut the cold butter into 1cm cubes. If the weather is warm, put the cubed butter back into refrigerator to chill for about 30 minutes before using.
2. Combine bread flour, plain flour, sugar, salt and milk powder in a large mixing bowl. Mix well then stir in instant yeast.

 3. Add cold cubed butter and toss through the flour mixture. Then add the lightly beaten egg and water. Fold the mixture lightly just until the flour is moistened (see image #1 above). Don’t let the butter melts at any stage! Cover with cling film and refrigerate for at least 8 hours, or overnight (image #2). (I refrigerated mine for 18 hours before I was able to find time to continue with the next stage.)
4. Lightly flour a work surface (I used plain flour) and turn the sticky dough out onto it. Dust more flour on top of the dough and pat the dough roughly into a square (image #3). Use a rolling pin to lightly bash the dough in a criss-cross fashion to flatten it out. This is because it will be quite hard to roll out in the beginning due to the hard butter chunks. Now use the rolling pin to roll the dough out roughly about 40cm x 40cm (image #4).
5. Fold one third from the right side into the middle (image #5), then the left third on top of it, like folding a business letter (image #6). Roll out again to about roughly 60cm x 20cm (image #7), fold into thirds like before (image #8). If the butter starts to soften too much at this stage, wrap the dough in cling film and chill in the refrigerator for 30 minutes before proceeding.

6. Dust again with flour if necessary (image #9). Roll out again to roughly 40cm x 40cm (image #10). Repeat step 5 (image #11 to #14).
7. Divide the dough into even quarters (each portion will be used to make 4 pastries). Wrap each portion in cling film quite tightly and chill for at least 30 minutes before proceeding. At this point, the divided dough is ready to be shaped and filled and can be kept in the refrigerator for 48 hours if desired.
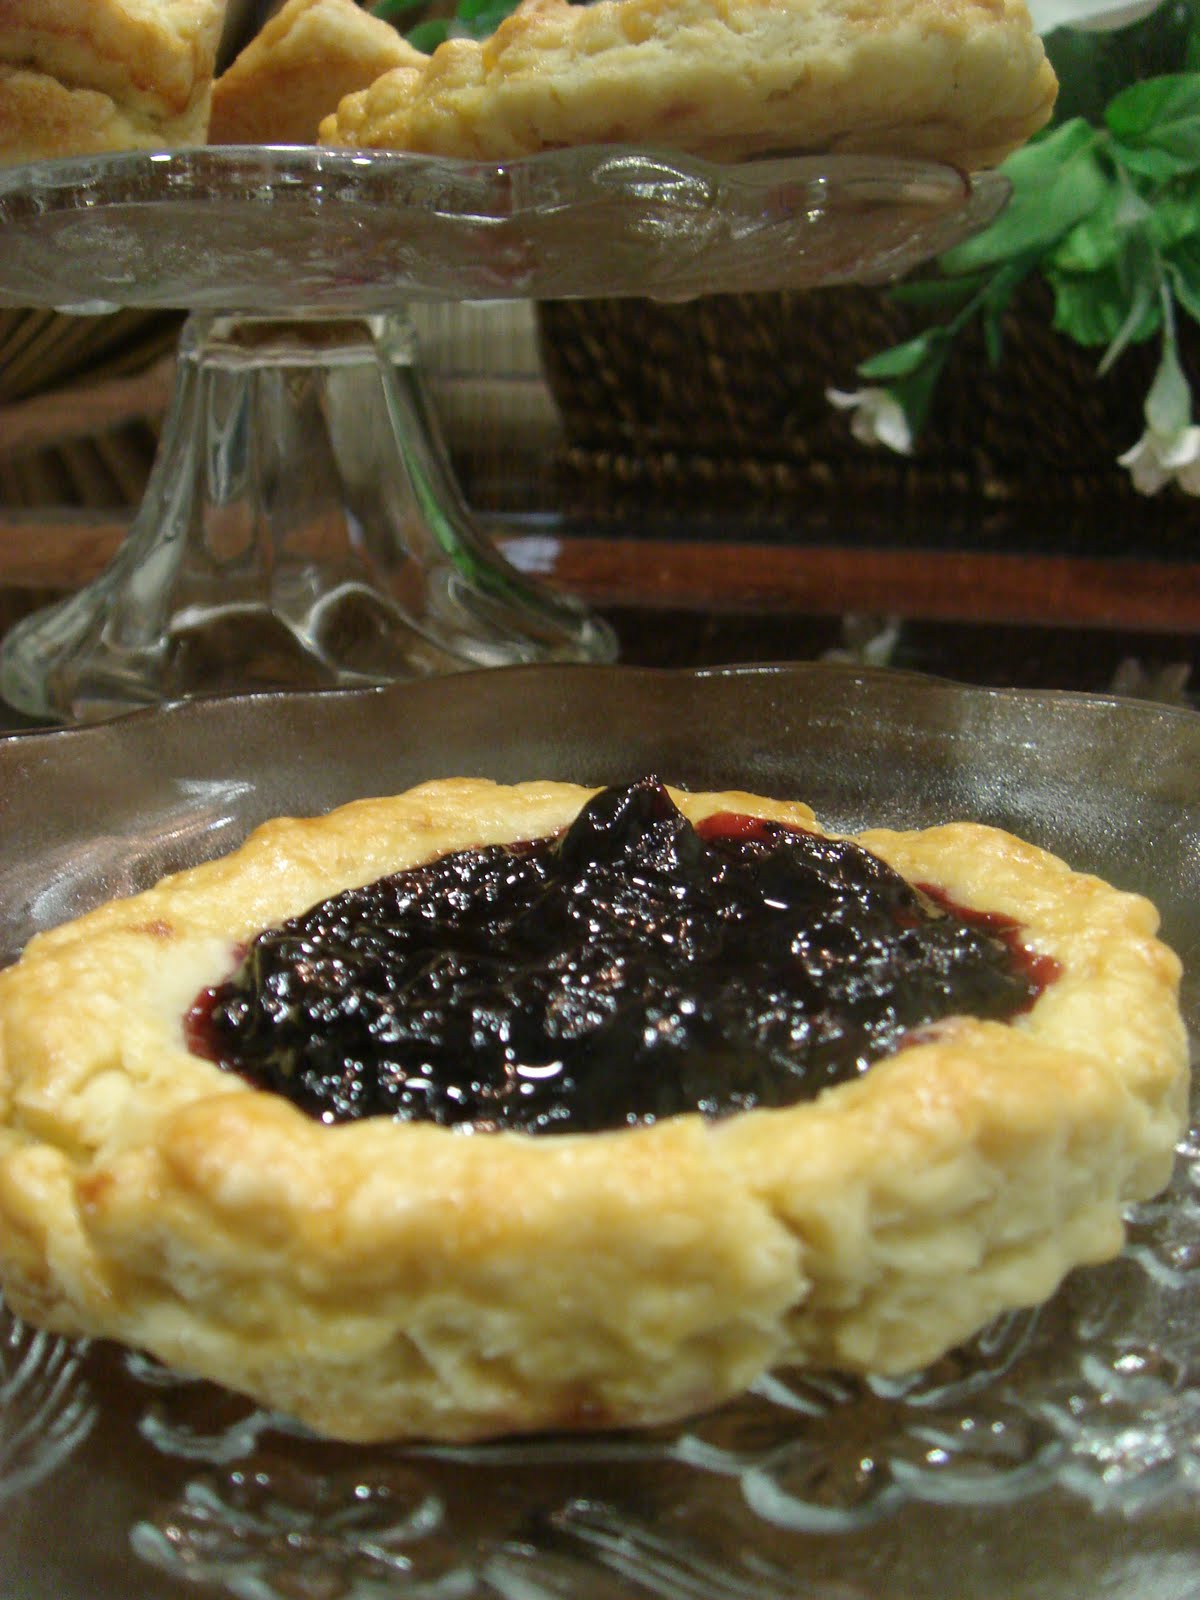
8. Take one portion of the divided dough and roll it out to about 20cm x 20cm. Cut into quarters of 10cm x 10cm each (image #15). Fill and shape each as desired (use custard, jam and fruit of your choice). Place the shaped Danish pastries onto a lined baking tray and cover lightly with cling film. Let them rise in a warm place for about 30 minutes. Although the pastries won’t double in size, they will puff up and feel airy.
9. Preheat oven to 200°C. Brush the pastries with lightly beaten egg white and bake for 8 to 10 minutes, or until light golden in colour.
 Best regards,,
greatsword_blader@hotmail.com

wah..mcm2 bentuk lah kak dy...tumpang minum ptg sini je lah...
ReplyDeleteAssalam ady, rajinnya buat pastry skin sendiri..
ReplyDeleteakak punya pastry margarine ada dlm fridge dah masuk century dah tak buat2..hehe
oh yang ini gunakan yeast aje ya ady..
wah rajinnya...akak tak pernah buat lagi pastry ni...menarik sedapnya kalau dapat ngap ni...hehe
ReplyDeleteAssalamualaikum....timakasih...singgah "rumah" kak cek n follow...rajinnya Ady buat pastry ni...kak cek biasanya beli je yg readymade...he he...Danish ni memang fav. kak cek...
ReplyDelete